TL;DR:
- Keeping bees involves managing colonies in authorized hives to support pollination and honey production. Starting costs range from £300 to £600, and proper site, equipment, and seasonal care are essential for colony health and productivity. Regular monitoring of Varroa mites, adequate winter food reserves, and good neighbor relations promote successful beekeeping.
Keeping bees is the practice of managing honeybee colonies in authorised hives to support pollination, produce honey, and engage with one of nature's most complex social systems. The British Beekeepers Association and the National Bee Unit both recognise it as a skill requiring consistent learning, not just enthusiasm. Starting beekeeping costs £300–£600 in the first year and demands roughly 20–30 hours of active work. That investment pays off when you understand what your colony needs at every stage, from spring installation through to winter survival.
What equipment and location do you need for keeping bees?
The right equipment and site selection determine whether your colony thrives or struggles from day one. Cutting corners on either creates problems that compound through the season.
Choosing your hive type and protective gear
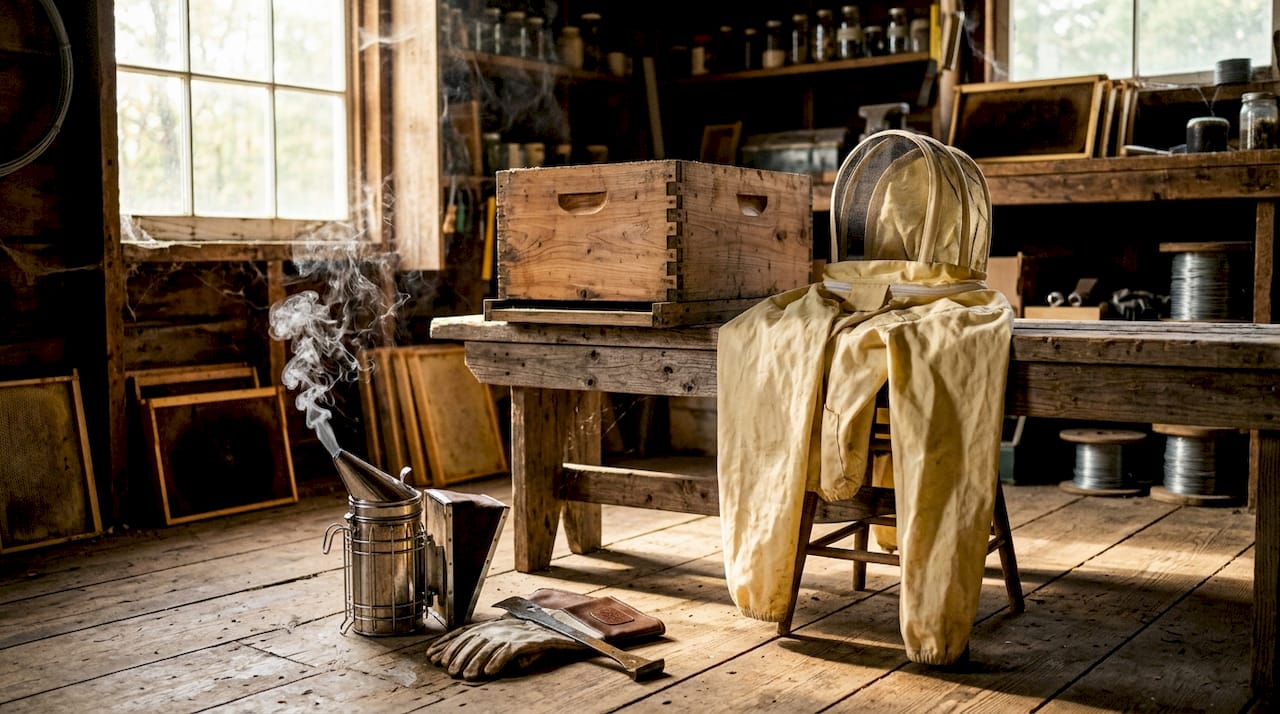
The National hive is the most widely used design in the UK, and for good reason. Its standardised parts are interchangeable, widely available, and compatible with most British beekeeping courses. You will also need a full bee suit with integrated veil, a smoker, and a hive tool for prying apart frames. These four items form the non-negotiable core of your kit.
| Equipment category | Primary function |
|---|---|
| National hive | Houses the colony; standardised frame sizing |
| Bee suit and veil | Protects beekeeper during inspections |
| Smoker | Calms bees by masking alarm pheromones |
| Hive tool | Separates propolis-sealed frames safely |
| Feeder | Delivers supplementary syrup or fondant |
Beyond the basics, a queen marking kit and a dedicated inspection record book save significant time once you manage multiple hives. Beekeeperscolony offers hive tracking tools that replace paper records with structured digital logs, which is particularly useful when monitoring Varroa counts across several colonies.
Selecting the right site
Site selection affects colony temperament, productivity, and your relationship with neighbours. A south or south-east facing entrance maximises morning sun, which encourages earlier foraging. Position the hive with a windbreak behind it, whether a hedge, fence, or wall, to reduce winter heat loss.
Placing a fence or hedge at the hive entrance forces bees to fly upwards immediately, keeping their flight path above head height and reducing sting incidents near boundaries. This single measure resolves the majority of neighbour complaints before they arise. Always check your local authority's bylaws on hive setback distances before installation.
Pro Tip: Order your equipment and bees in january or february. Nucleus colonies sell out fast across the UK, and late orders often push installation back to midsummer, costing you a full productive season.
How do you install and establish a healthy colony in spring?
A well-installed colony in spring gives you the strongest possible foundation for the rest of the year. The two main options are package bees and nucleus colonies, and they behave very differently.
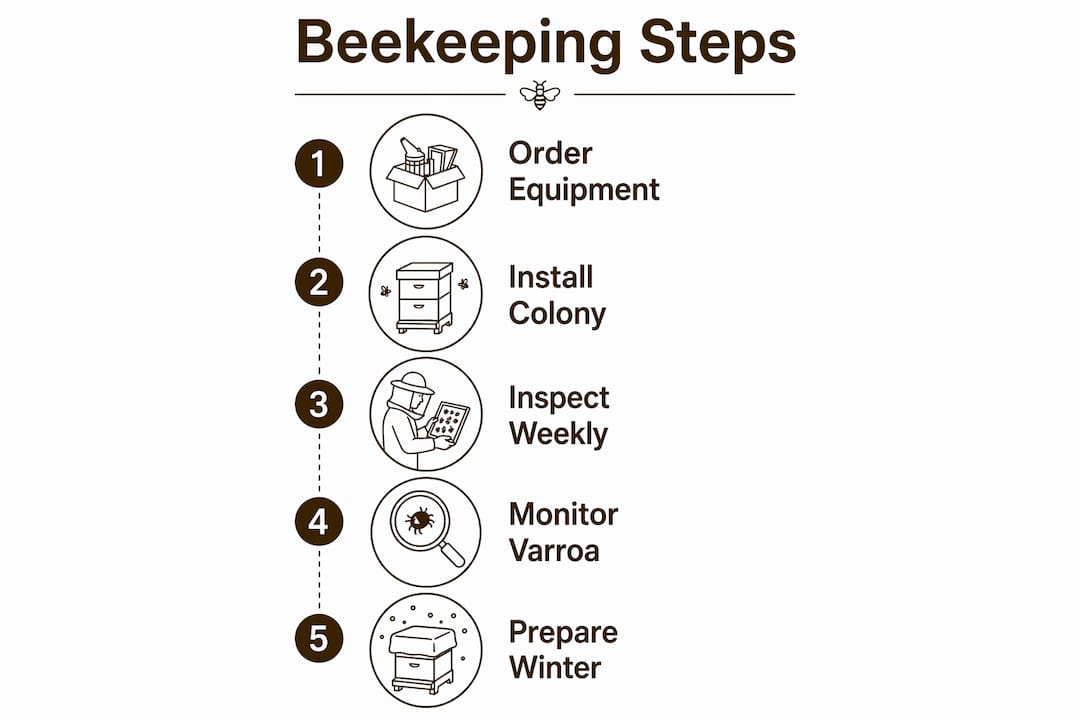
A nucleus colony, commonly called a "nuc," arrives as five frames of drawn comb, brood, food stores, and a mated, laying queen. It establishes faster than a package and carries lower risk for beginners. A package is a screened box of bees with a caged queen; it costs less but requires the colony to draw fresh comb from scratch, which takes longer and demands more feeding support.
Step-by-step installation process
- Choose a mild, calm day above 15°C for installation to avoid chilling the brood.
- Transfer nuc frames directly into your hive in the same order they arrived, preserving the brood nest arrangement.
- Add empty frames on both sides to give the colony room to expand.
- Place the feeder immediately and fill it with 1:1 sugar syrup to support comb drawing.
- Close the hive and leave it undisturbed for five to seven days before your first inspection.
Your first inspection has three priorities: confirm the queen is present and laying, assess the brood pattern for solid coverage with few gaps, and check food stores are adequate. A patchy brood pattern at this stage signals a queen problem that needs addressing quickly.
Weekly inspections suffice during the active season. Opening the hive more frequently weakens the colony and risks chilling brood, particularly in cooler British springs. Discipline here separates experienced beekeepers from anxious beginners.
Pro Tip: Local beekeeping clubs provide mentorship, swarm collection support, and group equipment purchasing that no book or blog can replicate. Join one before your bees arrive, not after.
What ongoing maintenance keeps your colony strong through the season?
Strong colonies require consistent monitoring across four areas: Varroa mite levels, food stores, swarm prevention, and neighbour relations. Neglecting any one of them creates a crisis that the others cannot compensate for.
Monitoring Varroa mite levels
Varroa mite monitoring should happen monthly using either a sugar roll or an alcohol wash. Both methods count the number of mites per 100 bees, giving you a percentage infestation rate. Varroa infestations cause the majority of managed colony losses in the UK, making this the single most important health check you perform.
A count above 3% during the brood-rearing season triggers treatment. Approved treatments include oxalic acid vaporisation, which works best in broodless periods, and Apivar strips for use during the active season. Record every count and treatment date in your hive log. Beekeeperscolony's pest records feature makes this tracking straightforward across multiple hives.
Balancing harvest with colony health
Beginners consistently make the same mistake: they harvest too much honey too early. Prioritise colony strength and winter readiness over honey yield in your first year. A colony that enters autumn with strong numbers and full stores will survive and thrive. A colony stripped of honey to fill jars in august often starves before february.
- Check food stores at every inspection by lifting frames and estimating capped honey weight.
- Leave at least one full super of honey for the colony before taking any surplus.
- Monitor the brood nest for signs of contraction, which indicates the colony is consuming stores faster than it is collecting them.
- Manage swarm impulse by adding supers before the colony feels congested, not after.
Pro Tip: Gifting a jar of honey to immediate neighbours each season costs you almost nothing and builds goodwill that prevents complaints. Proactive communication about your hives works far better than reactive apologies.
How do you prepare bees for winter and prevent starvation?
Winter preparation is where most colony losses are either prevented or sealed. The biology of winter bees is fundamentally different from summer bees, and understanding that difference changes how you manage the hive from august onwards.
Winter bee biology
Winter bees live 4–6 months compared to the six-week lifespan of summer workers. They develop enlarged fat bodies that store protein and energy reserves, allowing them to sustain the cluster through months without foraging. Varroa mite infestations directly damage these fat bodies, which is why high mite loads in autumn translate to colony death in january or february. Treating Varroa before winter bees are raised, typically in late july or august, is the most critical timing decision in the beekeeping calendar.
Food stores and winter feeding
A healthy colony needs 60–90 lbs of capped honey to survive winter, consuming 30–60 lbs over the cold months. That is a substantial reserve, and many UK colonies fall short by september. The table below summarises the feeding approach as temperatures drop.
| Temperature range | Recommended feed type | Reason |
|---|---|---|
| Above 14°C | 2:1 sugar syrup | Bees process and store liquid feed efficiently |
| 10–14°C | Thin syrup or begin transition | Uptake slows; risk of fermentation increases |
| Below 10°C | Fondant or candy board | Bees consume solid feed directly without processing |
Winter feeding must switch from syrup to fondant as temperatures fall below 10°C. Syrup at low temperatures ferments before bees can process it, and cold bees lack the energy to evaporate water from thin feed. Fondant placed directly above the cluster provides an accessible, stable food source through the coldest months.
- Heft the hive from the rear in november, january, and february to estimate stores without opening it.
- A light hive in mid-winter signals an immediate need for emergency fondant. Do not wait for a warm day to inspect.
- Place fondant directly on top of the frames above the cluster, not at the hive entrance or on the floor.
- Isolation starvation kills colonies even when honey is present elsewhere in the hive. The cluster cannot move far in cold temperatures, so food must be within reach.
Pro Tip: Wrap the hive in breathable insulation material in november, but leave the entrance open for ventilation. Condensation kills more winter colonies than cold does.
Key takeaways
Successful beekeeping depends on consistent seasonal management, proactive Varroa control, and adequate winter food stores rather than luck or instinct.
| Point | Details |
|---|---|
| Start with the right kit | A National hive, bee suit, smoker, and hive tool are the non-negotiable foundation for any new beekeeper. |
| Join a local club early | Clubs provide mentorship and swarm support that books and online guides cannot replicate. |
| Monitor Varroa monthly | Use sugar rolls or alcohol washes and treat above 3% infestation to prevent colony collapse. |
| Prioritise stores overharvest | Leave sufficient honey reserves before taking any surplus, especially in your first year. |
| Switch to fondant in winter | Feed solid sugar below 10°C and heft the hive regularly to catch starvation risk early. |
What I have learned from years at the hive
The single biggest mistake I see new beekeepers make is treating their first year as a honey production exercise. It is not. It is a colony-building exercise, and the sooner you accept that, the better your bees will fare.
I spent my first autumn harvesting more than I should have because the frames looked full and I was impatient. By january, I was emergency feeding fondant in freezing temperatures and hoping the cluster would hold. It did, barely. That lesson cost me a season of strong build-up and taught me more than any course had.
The other thing I cannot stress enough is the value of your local beekeeping association. I have seen beekeepers with ten years of experience still calling their club mentor when something looks wrong. That is not weakness. That is good practice. The British Beekeepers Association maintains a network of regional clubs precisely because beekeeping problems are local, seasonal, and specific. A mentor who knows your local forage, your regional Varroa pressure, and your weather patterns is worth more than any generic guide.
Neighbour relations also matter more than most beginners expect. A fence at the hive entrance and a jar of honey in september resolve most issues before they become complaints. I have never had a formal complaint from a neighbour in over a decade, and I attribute that entirely to talking to them before they had a reason to talk to me.
Beekeeping rewards patience and observation above all else. The beekeepers who do best are not the ones who open their hives most often. They are the ones who watch, record, and act at the right moment.
— steve
Beekeeperscolony: support for every stage of your apiary
Whether you are setting up your first hive or managing a dozen colonies across multiple sites, having the right tools and community behind you makes a measurable difference.
Beekeeperscolony brings together apiary planning, hive tracking, local forage mapping, Varroa pest records, and tailored weather forecasts in one place. The platform's community forums connect you with experienced beekeepers who understand your local conditions, not just general theory. For beekeepers who want to move beyond guesswork and build a structured, evidence-based approach to colony management, Beekeeperscolony provides the tools to do exactly that.
FAQ
How much does it cost to start keeping bees?
Starting beekeeping costs £300–£600 in the first year, covering a hive, protective equipment, and a nucleus colony. Costs reduce significantly in subsequent years as equipment is already in place.
What do bees eat in the winter?
Bees consume capped honey stored within the hive during winter, supplemented with fondant or sugar blocks when stores run low. A colony needs 60–90 lbs of honey to survive the cold months without supplementary feeding.
How do I know if my bees are starving in winter?
Heft the hive from the rear to estimate its weight. A noticeably light hive in mid-winter indicates starvation risk, and fondant should be placed directly above the cluster immediately.
How often should I inspect my hive?
Weekly inspections are sufficient during the active season from April to august. Over-inspecting weakens colonies and risks chilling brood, particularly during cooler spring weather.
When should I switch from syrup to fondant for winter feeding?
Switch from sugar syrup to fondant when temperatures consistently fall below 10°C, typically in october across most of the UK. Syrup ferments at low temperatures and cold bees cannot process liquid feed efficiently.